As a car enthusiast, I’ve always believed that a car’s interior is an extension of its personality. Just like a fresh coat of paint can revitalize a car’s exterior, a well-maintained interior speaks volumes about the owner’s care and attention to detail. But over time, the wear and tear of daily driving, UV exposure, and accidental spills can take a toll on even the most pristine interiors.
That’s where the magic of car interior repair comes in. It’s not just about aesthetics; it’s about restoring your car’s soul and preserving its value. Whether you’re planning to sell your beloved vehicle or simply want to rekindle your driving experience, this guide will equip you with the knowledge and confidence to tackle DIY car interior repair like a pro.
Essential Tools and Materials for Car Interior Repair
Before you embark on your car interior restoration journey, it’s crucial to assemble the right tools and materials. Here’s a checklist to get you started:
Tools:
- Shop vacuum
- Nylon bristle brush
- Scuff pads
- Lint-free cloths
- Masking materials (tape, paper, etc.)
- Safety glasses
- Respirator
- Nitrile gloves
- Wrench set
Materials:
- Plastic and leather cleaner
- Plastic and leather preparation spray
- Plastic and leather colorant
- Plastic and vinyl clear coat
- Plastic and vinyl soap
- Vinyl preparation spray
- Carpet cleaner
- Plastic adhesion promoter
Pro Tip: “Investing in high-quality products is key to achieving professional-grade results,” advises Larry Trexler, National Trainer and Technical Service Manager for SEM Products, a leading brand in automotive refinishing products.
Step-by-Step Guide to Rejuvenating Your Car’s Interior
Step 1: Vinyl and Plastic Restoration
 prep
prep
- Clean and Prep: Begin by thoroughly cleaning all vinyl and plastic surfaces with a dedicated cleaner and a scuff pad. Pay close attention to textured areas and crevices where dirt and grime tend to accumulate.
- Spray and Wipe: Apply a vinyl preparation spray to the cleaned surfaces, ensuring even coverage. Wipe away any residue with a clean, damp, lint-free cloth. For plastic surfaces, use a plastic adhesion promoter instead and allow it to “flash” before wiping.
- Apply Colorant: Now, it’s time to bring back the vibrancy. Apply several light coats of colorant (specifically designed for plastic and vinyl), allowing sufficient drying time between each coat.
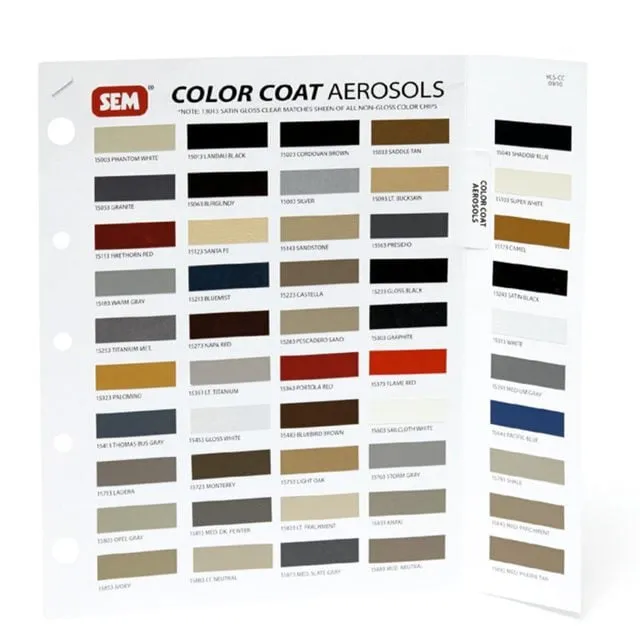
Pro Tip: “Choosing colors that closely match your car’s original shades yields the most natural and appealing results,” recommends Trexler.
Step 2: Carpet and Velour Revival
 carpet
- Prep the Area: Start by vacuuming the carpet and upholstery thoroughly to remove loose dirt and debris.
- Spray and Scrub: Apply a suitable carpet and upholstery cleaner, working it into the fibers with a nylon bristle brush.
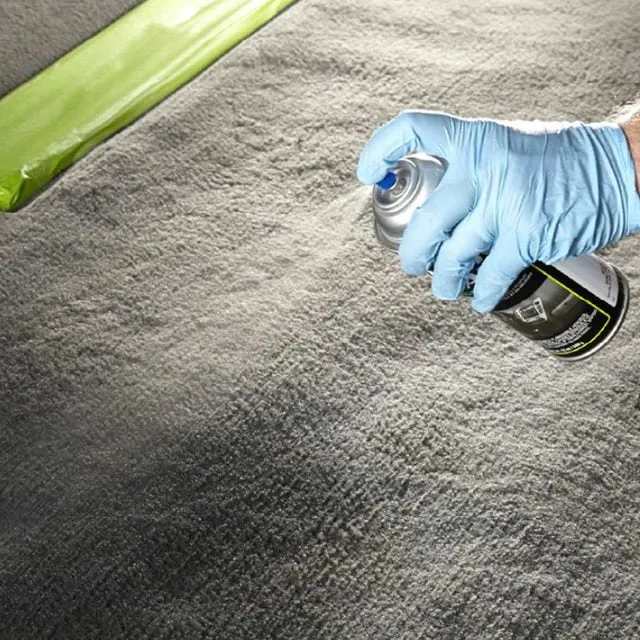
- Color Application and Drying: Using a dedicated carpet and velour colorant, apply the product evenly, brushing it in all directions to ensure proper penetration and prevent matting. Allow ample drying time before vacuuming again.
Conclusion: Enjoy Your Refreshed Car Interior!
Congratulations! By following these steps, you’ve successfully revitalized your car’s interior, transforming it from drab to fab. Not only have you enhanced its aesthetics and value, but you’ve also gained the satisfaction of a job well done.
Remember, regular maintenance is key to preserving your car’s interior for years to come. So, keep those cleaning supplies handy, and don’t hesitate to tackle minor repairs promptly. After all, a well-maintained car is a joy to drive and a testament to your passion for all things automotive!