When it comes to classic cars, few can rival the timeless appeal of the 1966 Corvette. With its sleek lines and powerful engine, it’s no wonder that this beauty continues to captivate car enthusiasts to this day. In this article, we’ll delve into the meticulous restoration process that brought this Corvette back to its former glory.
The Challenges of Restoring a Vintage Corvette
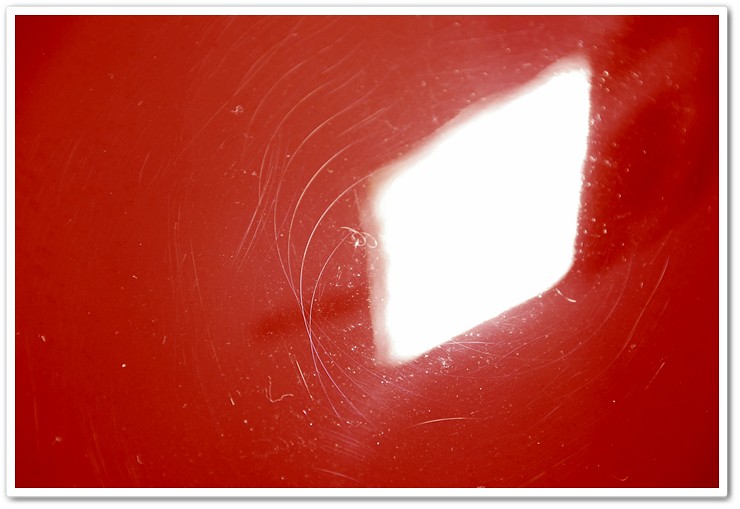
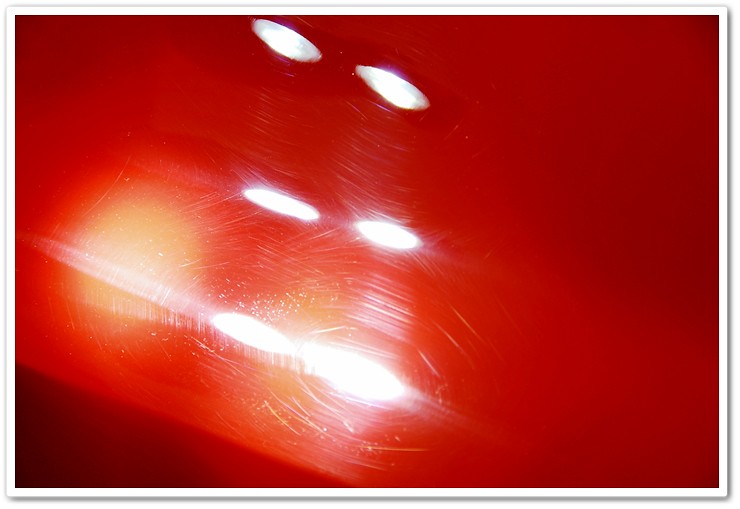
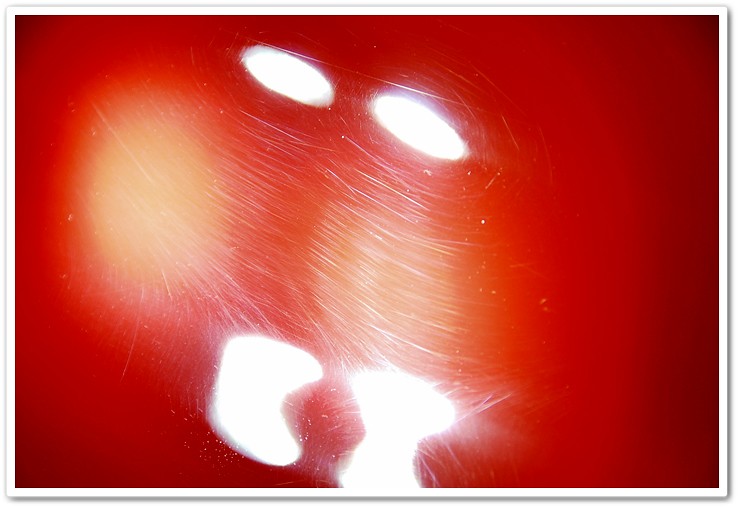
Restoring a vintage car is no easy task, especially when it comes to a Corvette from the ’60s. The fiberglass panels and harder clear coat of the vehicle required a more aggressive approach to achieve the desired results. Upon evaluation, it was clear that the car had several deep scratches, DA sanding marks, and wool pad marks from a previous job.
With a plan of attack in mind, the restoration process began with prepping the vehicle for polishing. The Surbuf R Series Pads and Meguiars 105 were used to level the paint, with 5.5 inch Surbuf pads for larger areas and 4 inch pads for tighter spots. This initial step greatly improved the appearance of the paint, but further refinement was needed.
To refine the clear coat, the team switched to Optimum Hyper Spray Polish and used a white pad with the Porter Cable. This step removed the compounding haze and marks, resulting in a defect-free finish that showcased the stunning gloss of the paint.
The Beauty Lies in the Details
Throughout the restoration process, attention to detail was paramount. Different degrees of defects were carefully examined using Brinkmann lights, ensuring that every imperfection was addressed.
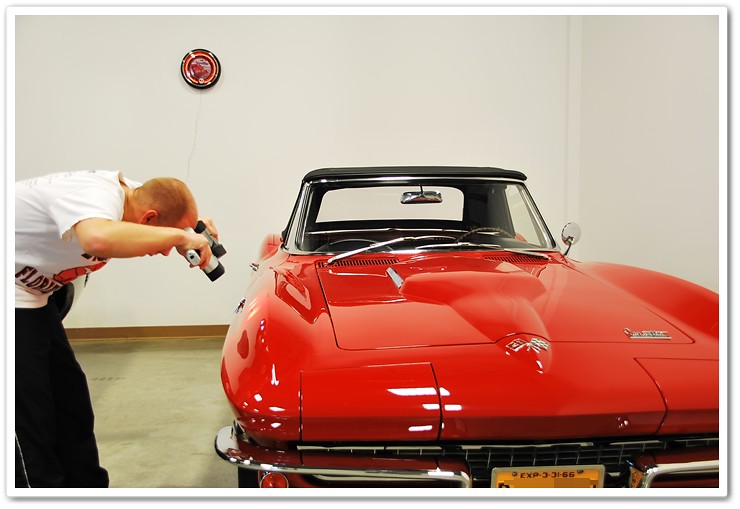
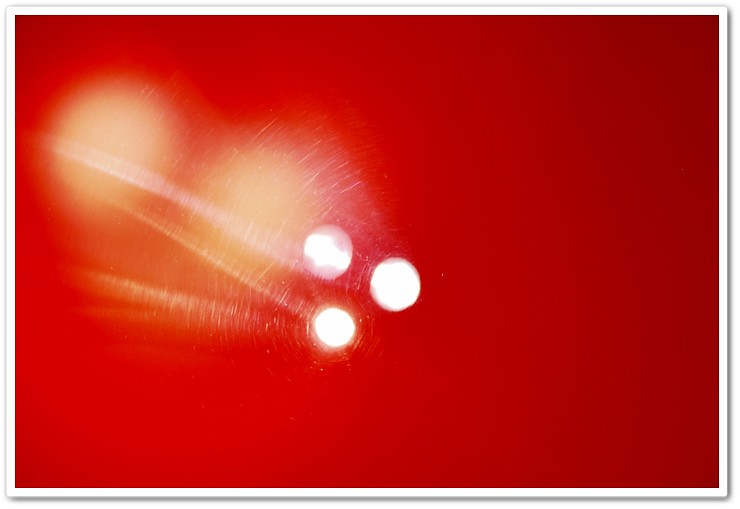
The images above demonstrate the degree of some of the deep and stubborn defects that had to be tackled. It was clear that achieving a flawless finish would require expertise and skill.
Finishing down the hard clear coat was a meticulous process. While a white pad was used for this particular Corvette, black or blue pads are recommended for softer clears. The process revealed a smooth and glossy finish that was sure to turn heads.
After completing the polishing process, every detail of the vehicle was given attention. The wheels, chrome trim, and other metal elements were treated with Optimum Metal Polish, enhancing the overall quality of the job. The paint was then cleaned with Chemical Guys EZ Creme Glaze before applying Blackfire Wet Diamond Paint Sealant, leaving behind a super slick finish with a brilliant gloss.
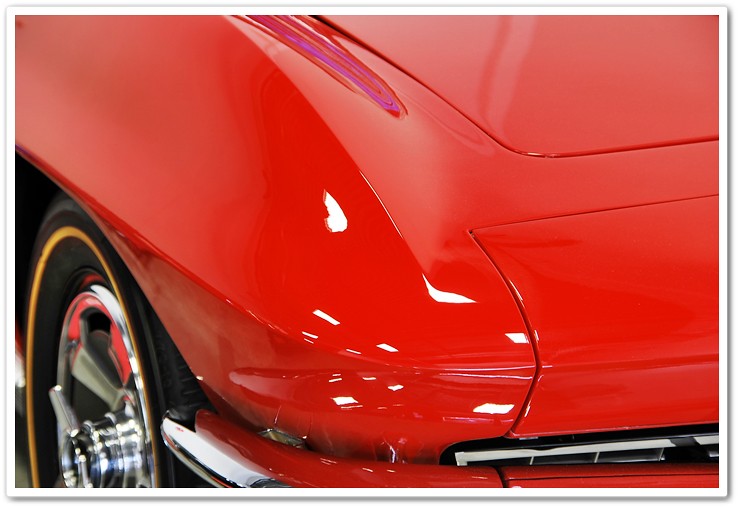
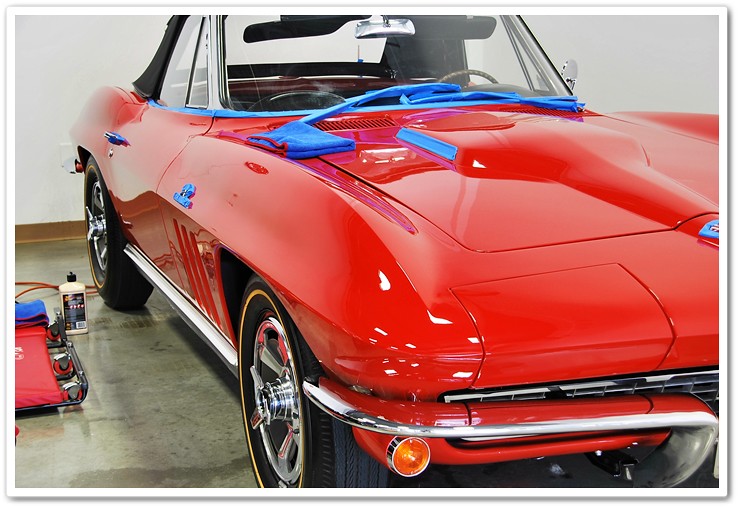
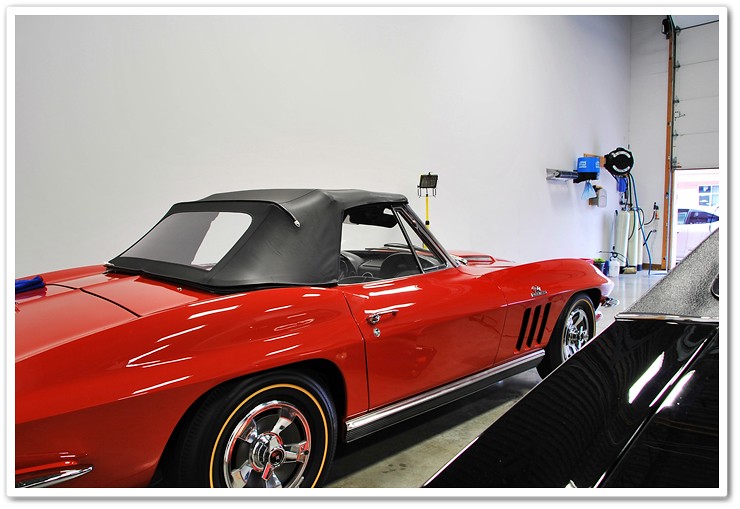
Every step of the restoration process was completed with precision and care. The end result is a show-stopping 1966 Corvette that shines like new.
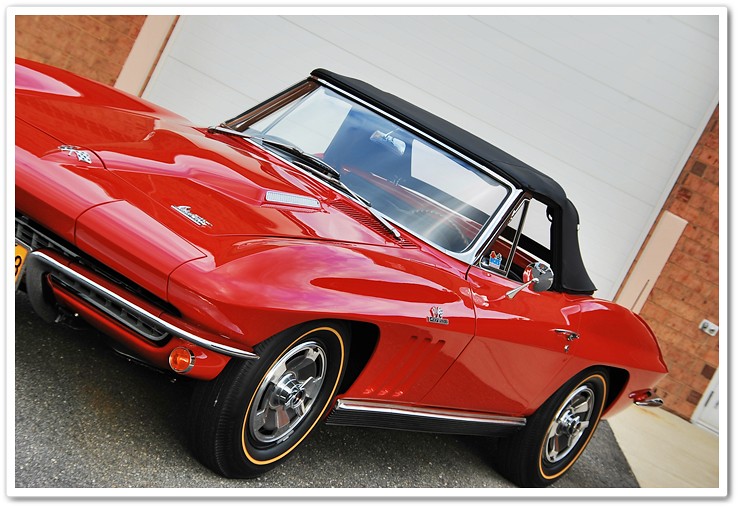
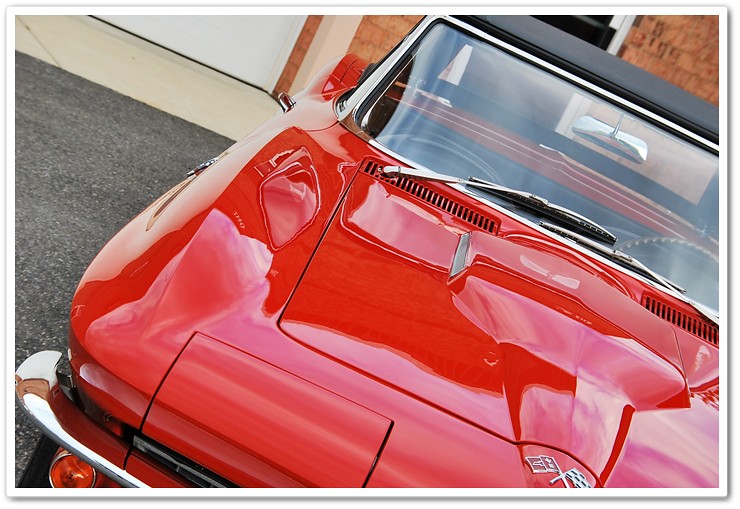
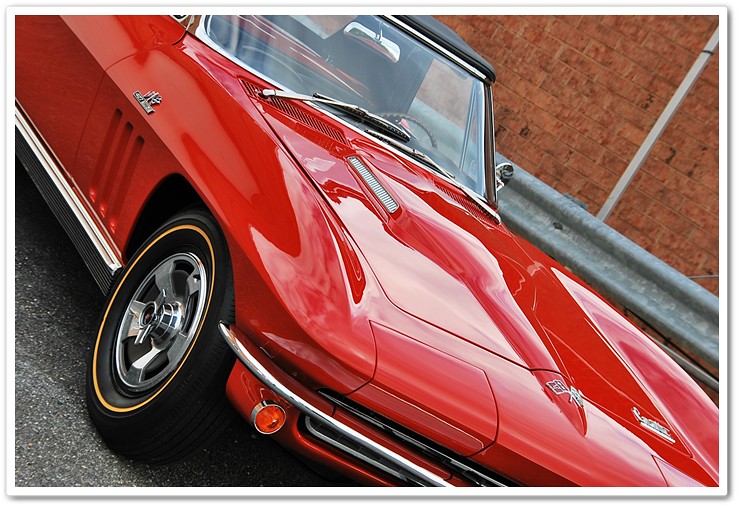
Under the hood, the 427 Turbo-Jet engine powers this beauty, delivering exhilarating performance that matches its stunning aesthetics.
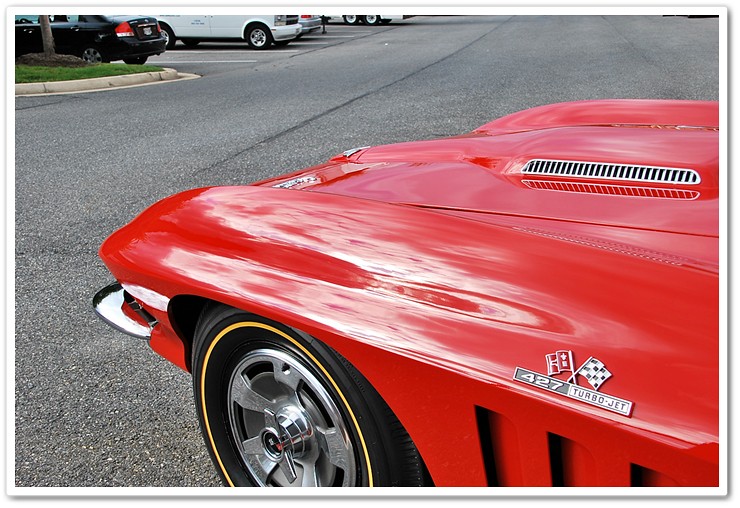
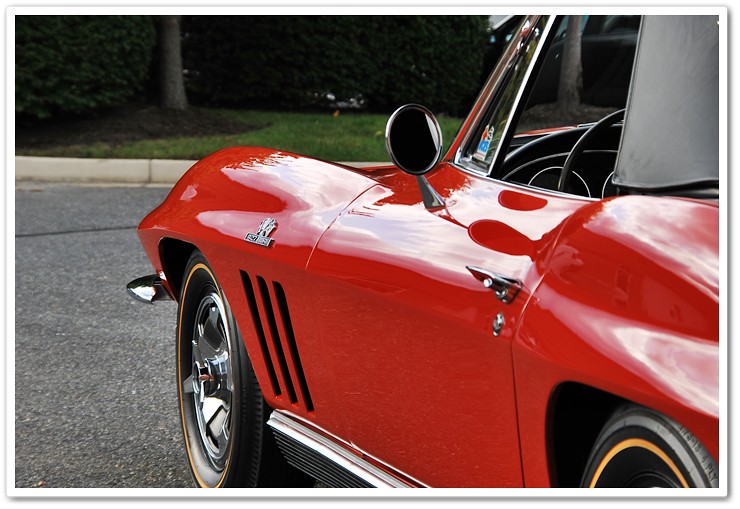
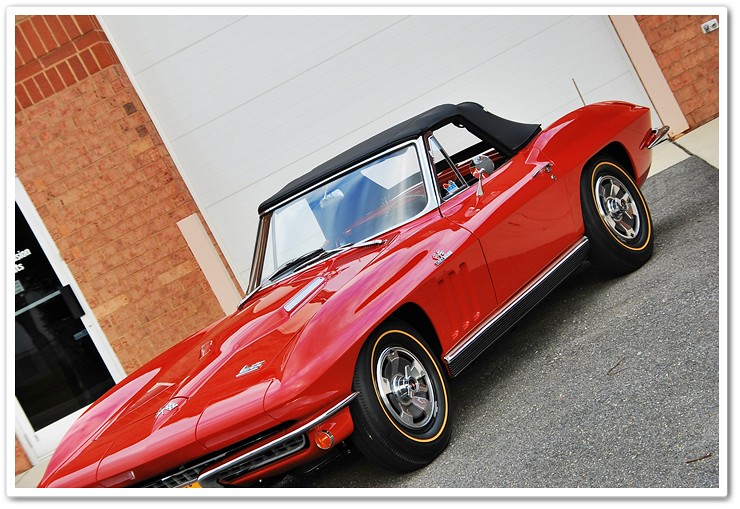
After 19 hours of meticulous polishing, the final product is a testament to the skill and dedication of the restoration team. Every imperfection has been erased, leaving behind a true automotive masterpiece.
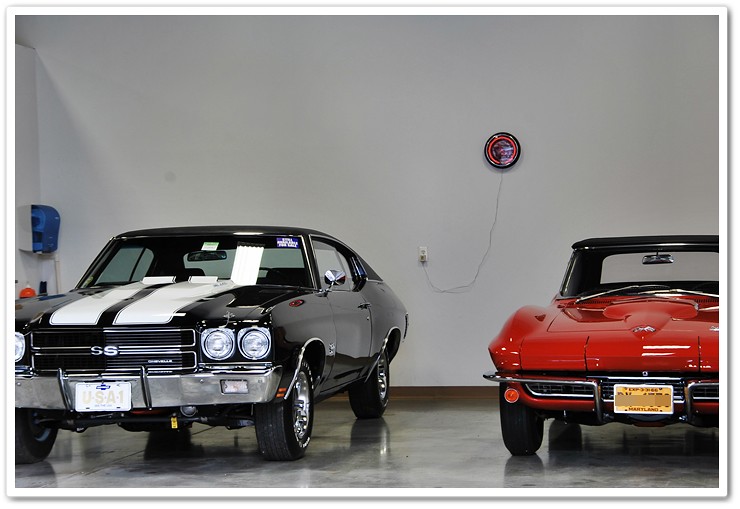
Thank you for joining us on this journey through the restoration process of the 1966 Corvette. If you have any comments or questions, please feel free to leave them in the comment section below.
FAQs
-
Q: How long did the restoration process take?
- A: The restoration process took several hours of meticulous work over the course of a day.
-
Q: What products were used to restore the paint?
- A: The Surbuf R Series Pads, Meguiars 105, and Optimum Hyper Spray Polish were used to achieve the flawless finish.
-
Q: How was the gloss of the paint enhanced?
- A: Chemical Guys EZ Creme Glaze and Blackfire Wet Diamond Paint Sealant were used to bring out the stunning gloss of the paint.
Conclusion
The restoration of the 1966 Corvette is a testament to the timelessness and enduring appeal of classic cars. With expert craftsmanship and attention to detail, this beauty was brought back to life, showcasing its original splendor for car enthusiasts to admire. Restorations like these remind us of the rich automotive history that deserves to be cherished and preserved.